How to hang Christmas lights is something many homeowners think about as soon as the holiday season approaches, especially when neighborhoods begin to glow with twinkling displays.
Whether you’re aiming to create a warm, welcoming scene for your family or hoping to add a little extra charm to your home’s exterior, understanding how to do it safely and effectively can make all the difference.
In this guide, we’ll walk you through what you need to know to get it done right the first time, from outlining rooflines to wrapping trees in a winter wonderland.
Spark Your Strategy: Key Tips Before You Start
- Why planning your layout makes all the difference
- How to test your lights before you climb a ladder
- Choosing the best clips for clean, safe installation
- Step-by-step tips for rooflines, trees, and walkways
- Common mistakes to avoid when hanging lights
- The perks of hiring professionals for holiday displays
Start With a Solid Plan
Before you hang the first strand, take a few moments to plan your layout. Walk around your property and decide where you want your Christmas lights to go. Do you want a clean outline along the roof and gutters? Would you like to wrap columns, trees, or bushes? Having a clear design in mind not only saves time but also ensures you purchase the right length and type of lights for each area.
Take note of power sources and measure the areas you plan to decorate. Add a few extra feet to your measurements to account for turns and connectors. If you want a truly professional look, consider choosing one theme of warm white elegance, multicolor charm, or something more modern like RGB lighting that can change colors throughout the season.
Choosing the Right Lights: How to Hang Christmas Lights That Last
Before you dive into installation, it’s important to choose the right type of lights for your setup. Knowing how to hang Christmas lights includes understanding the difference between bulb styles, wire colors, and lighting technologies each of which plays a key role in the final look and durability of your display.
LED lights are the most popular choice today because they’re energy-efficient, long-lasting, and stay cool to the touch. They’re ideal for rooflines, trees, and walkways, especially if you want your display to shine all season without constant maintenance. Traditional incandescent lights offer a warmer glow, but they use more energy and are more prone to burnout.
Bulb shape also affects the look. C9 bulbs are a favorite for outlining roofs and gutters, while mini lights work better for wrapping trees or bushes. When possible, choose commercial-grade strands with sealed sockets to prevent moisture from getting in and causing short circuits.
Finally, consider wire color. Green wire blends well with foliage, while white is better for trim and siding. The goal is to make the lights the star of the show not the wires. Investing in quality lights upfront ensures that when it comes time to hang them, your work will shine with style and reliability.
Check Before You Climb: Test All Your Lights
Testing your lights before hanging them can save you a world of frustration. Plug in each strand and check for burned-out bulbs or faulty sections. Even new lights can have issues, especially if they’ve been stored in a tangled mess since last season. Also, check for frayed wires or exposed connections safety should always come first.
If you’re using LED lights (which we recommend for energy efficiency), make sure all strands are compatible, as mixing old and new tech can lead to uneven lighting or even damage.
Pick the Right Clips: No Nails Needed
When it comes to attaching lights to your home, resist the urge to use staples or nails. These can damage shingles, gutters, or siding and potentially lead to costly repairs. Instead, use commercial-grade plastic clips designed specifically for hanging lights on roofs, gutters, and siding. There are different styles depending on your needs:
- All-in-One Clips: Versatile and work on shingles or gutters
- Gutter Clips: Designed to grip onto the edge of gutters
- Shingle Tabs: Slide easily under shingles for a secure hold
Using the right clip not only protects your home but also ensures your lights stay straight and secure throughout the season.
Rooflines, Trees, and Walkways: A Closer Look
Outlining the Roof
This is often the focal point of any Christmas light display. Start at the power source and work your way around the roofline, attaching clips about 12 inches apart. Be careful not to overstretch the strands tight tension can cause breakage. Use extension cords rated for outdoor use if necessary, and always keep connections off the ground to avoid water exposure.
Lighting Up Trees
Whether you’re wrapping trunks, branches, or both, the key to success is spacing. For a dense, elegant look, space each wrap about 3–4 inches apart. Start at the base and work upward in a spiral motion. Use light-duty zip ties if needed, but avoid anything that could harm the bark. If your trees are especially tall, consider hiring a pro to reach those high branches safely.
Walkways and Landscaping
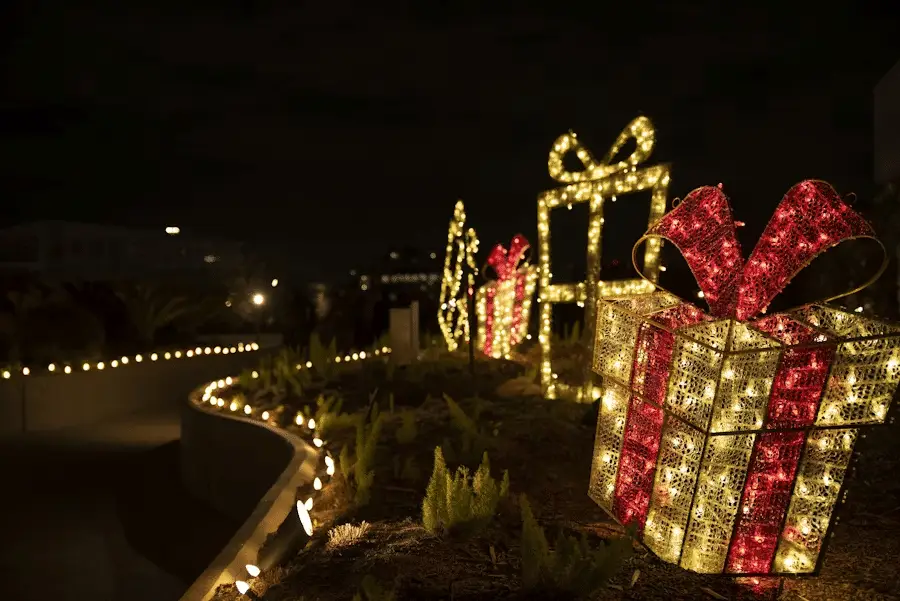
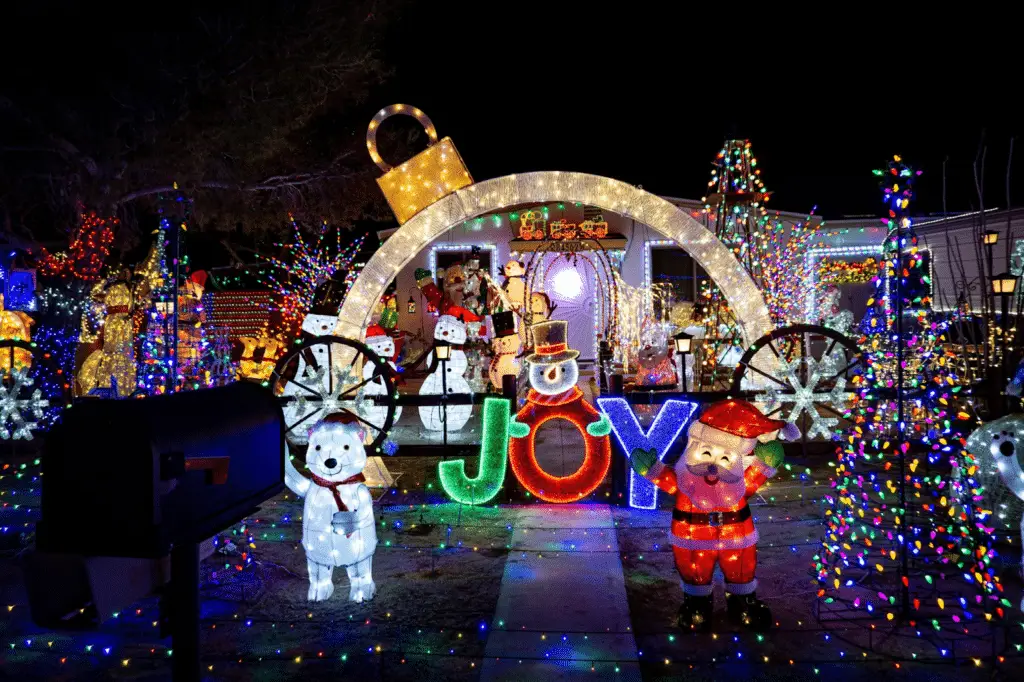
Pathway stakes and shrub net lights are ideal for creating a full, balanced display. Stakes keep lights aligned and upright, while nets are a quick way to cover bushes evenly without manually stringing each strand. Don’t forget to illuminate driveways, fences, or garden features to create layers and depth in your holiday decor.
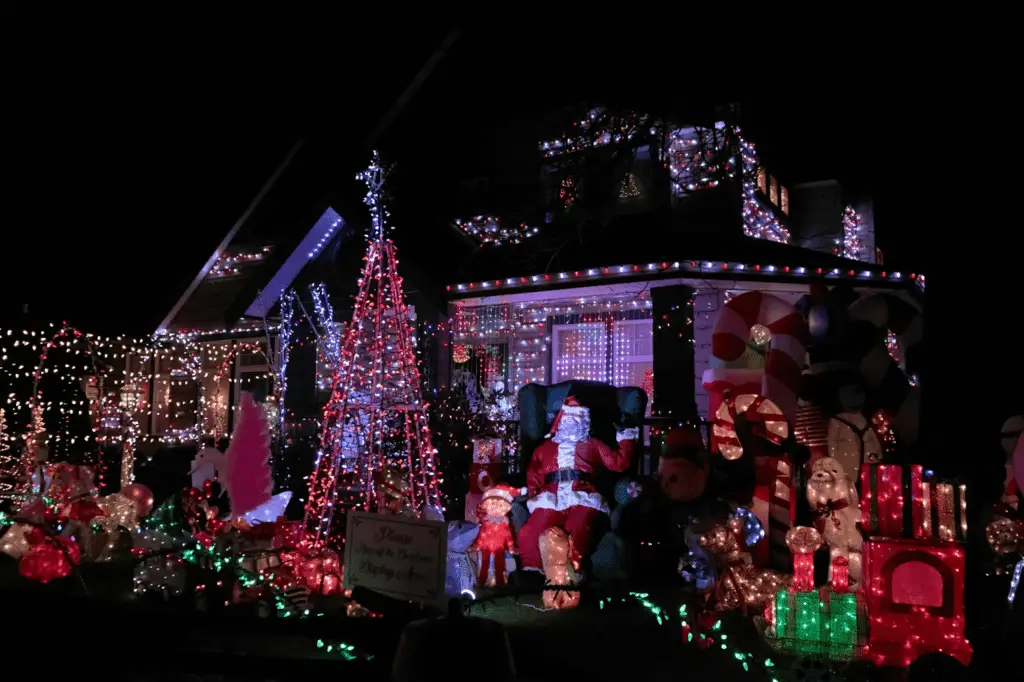
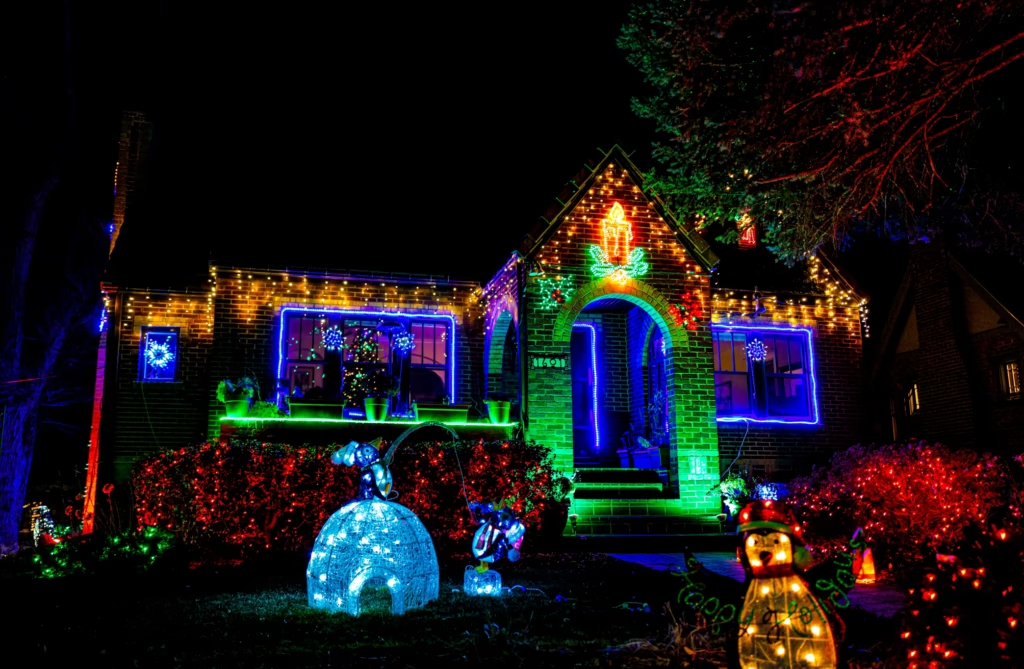
Maximizing Impact: How to Hang Christmas Lights with Style
Knowing how to hang Christmas lights is only part of the equation how you style them can take your display from ordinary to unforgettable. Consider using layering techniques, like combining roofline lights with tree wraps and shrub netting to add depth and dimension.
Stick to one or two color schemes for a polished look, such as warm white with gold accents or alternating red and green for a traditional vibe. Don’t overlook symmetry and balance, especially when decorating both sides of your home or yard.
Finally, incorporate timers or smart plugs to automate your display and keep things energy-efficient while adding a touch of tech-savvy charm.
Avoid These Common Mistakes
Mistakes happen, but a little knowledge goes a long way. Here are a few missteps you’ll want to steer clear of:
- Overloading Circuits: Know the wattage limits of your breakers and avoid plugging too many strands into one outlet.
- Using Indoor Lights Outside: They may look similar, but indoor lights aren’t weatherproof and can become a fire hazard.
- Skipping the Test Run: Always plug in the full setup before finalizing placement to check for gaps or dim areas.
- Climbing Without Help: Use a sturdy ladder, and have a second person spot you for safety never hang lights alone.
- Improper Storage: After the season, store lights untangled and labeled by location to save time next year.
Safety First: How to Hang Christmas Lights Without Risk
Understanding how to hang Christmas lights means more than just knowing where to place them it’s also about staying safe in the process. Always use a sturdy ladder on level ground and avoid working alone, especially when climbing or reaching difficult spots.
Never hang lights in wet or windy conditions, and make sure cords are rated for outdoor use and kept away from walkways to prevent tripping hazards. GFCI outlets, weatherproof extension cords, and secure clip attachments are non-negotiable for a safe and reliable setup. Taking these precautions helps ensure your holiday decorating doesn’t come with unnecessary risks.
Why Professional Installation Makes a Difference
Hiring a professional for your Christmas light installation isn’t just about convenience it’s about safety, quality, and longevity. Professionals use commercial-grade lights that are brighter, more durable, and custom-fit to your home. They’re trained to install lights cleanly and safely, with minimal impact to your home’s exterior.
You also won’t have to worry about maintenance. If a bulb goes out or something shifts, they’ll come fix it typically at no extra cost during the season. And perhaps best of all, you get to skip the ladder and the cold. From design to installation and takedown in January, everything is handled for you.
For example, if you’re in the Northshore area, you can explore our Christmas lights installation in Covington service. Or if you’re on the Southshore, check out our holiday light installation in Metairie.
Keep It Bright and Safe All Season Long
Learning how to hang Christmas lights goes beyond simply making your home look festive t’s about safety, efficiency, and bringing a sense of joy to the season. With a little planning, the right materials, and attention to detail, you can create a display that lights up your home and lifts the spirits of everyone who sees it, whether you’re outlining the roof or wrapping a beloved tree.
If you’d rather skip the ladders, tangled wires, and cold-weather hassles, professional installation is a stress-free option. Let the experts handle the Christmas lights on your house so you can focus on enjoying the season with your loved ones, knowing your home is beautifully and safely lit.